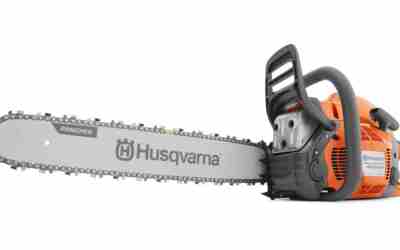

A single flush cut through a heavy limb almost always ends the same way: the branch’s own weight tears the bark down the trunk before the cut finishes, leaving a ragged wound the tree can take years to seal. The three-cut method removes that weight in stages first, so the final cut comes away clean instead of tearing.
Why One Cut Tears the Bark
A limb more than an inch or two thick is heavier than it looks, and once a saw is partway through, that weight has nowhere to go but down. The branch snaps under its own load before the blade finishes the cut, and the falling weight peels bark off the trunk on its way, sometimes for a foot or more below the wound. That torn strip of bark is worse than the cut itself, because it removes living tissue the tree needs to close the wound and opens a wider path for rot and pests to get in.
The three-cut method exists to take that weight off the equation before the final cut happens, so nothing is hanging on the blade when it comes through.
Find the Branch Collar Before You Cut
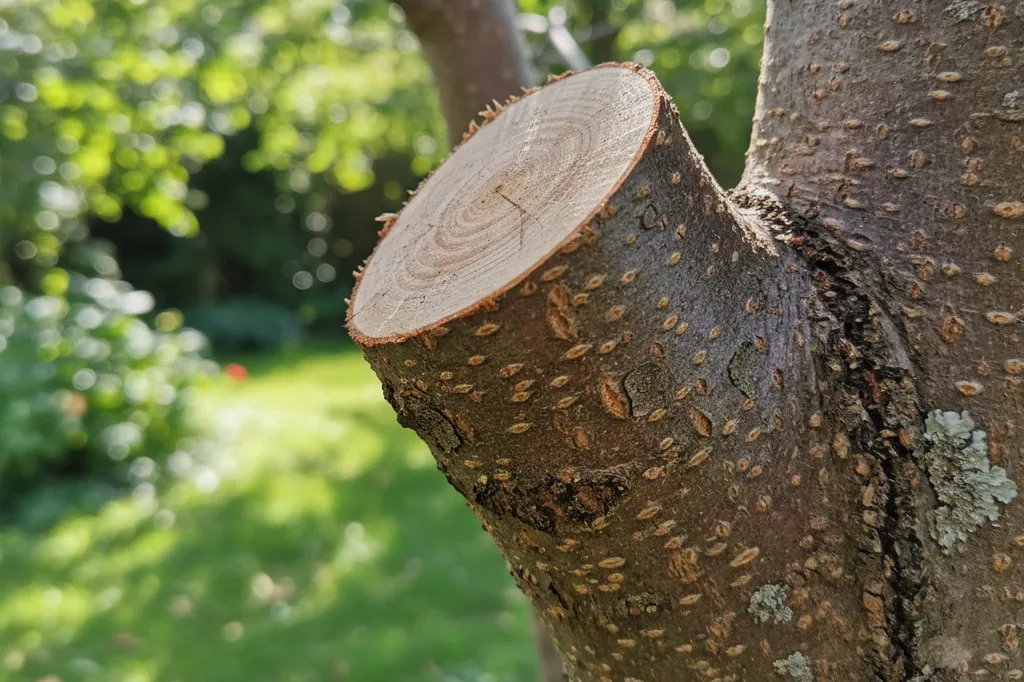
Where a branch meets the trunk, look for a slightly swollen ring or ridge of bark – that’s the branch collar, and it’s the tree’s own healing tissue. Cutting flush against the trunk removes the collar along with the branch, which leaves the tree with no mechanism to seal the wound. Cutting too far out and leaving a long stub does the opposite problem, since the stub dies back and rots before the collar can grow over it. The target is just outside the collar, angled slightly away from the trunk, so the tree can close over the cut on its own.
The 3-Cut Method, Step by Step
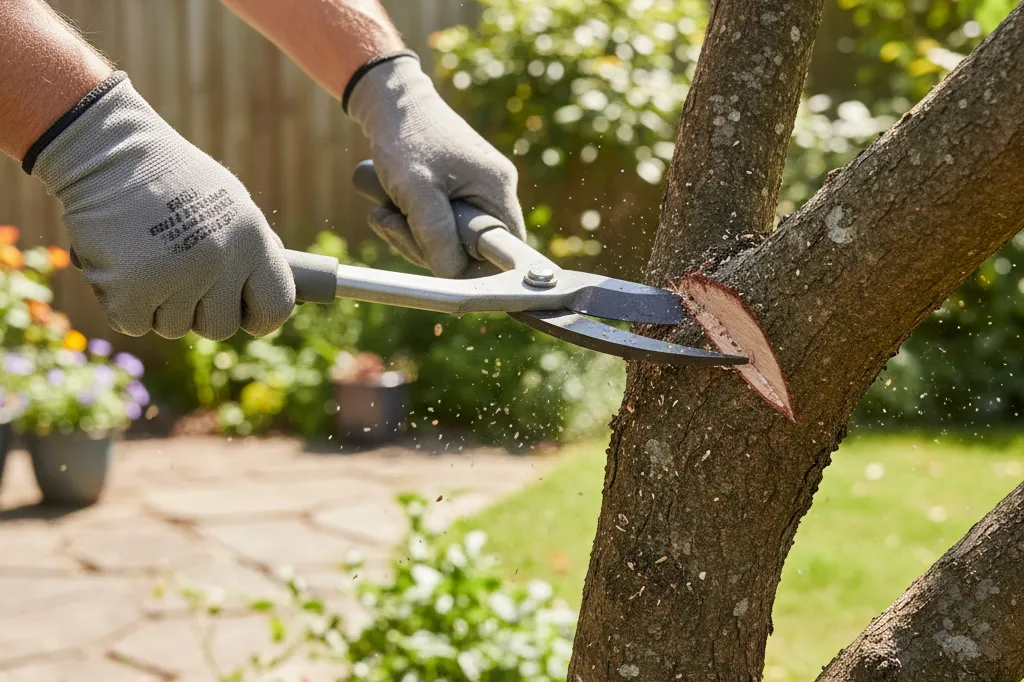
This sequence works on any limb heavy enough to tear when cut in one pass – roughly anything thicker than an inch and a half:
- Make an undercut 12-18 inches out from the trunk, about a quarter of the way through the branch from the bottom. This stops the bark from splitting back toward the trunk when the branch starts to fall.
- Make a second cut a few inches further out from the trunk, straight down from the top, all the way through. The branch will drop away here, taking most of its weight with it and leaving a short, light stub attached to the trunk.
- Make the final cut just outside the branch collar, angled slightly away from the trunk. With the heavy branch already gone, this cut is light, controlled, and won’t tear anything.
No wound paint or sealant is needed afterward – a clean cut at the collar heals faster left open to the air than covered in a coating, which can trap moisture against the wound instead of letting it dry and close.
When to Prune Trees
Most trees handle pruning best in late winter or very early spring, while they’re still dormant and before new growth starts drawing sap. Cuts made dormant close faster once growth resumes, and there’s no leaf cover hiding the branch structure, so it’s easier to see exactly where each collar is. Dead, damaged, or diseased limbs are the exception – those come off as soon as you spot them, regardless of season, since waiting only gives rot or pests more time to spread into healthy wood.
Picking the Right Tool for the Limb
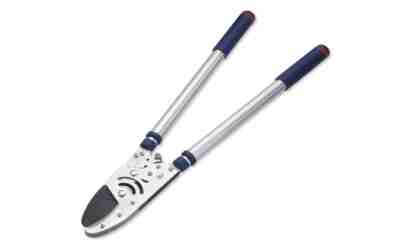
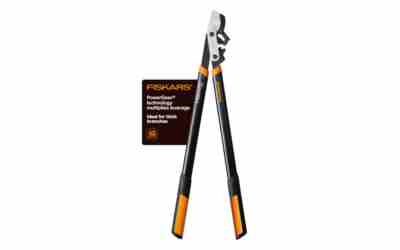
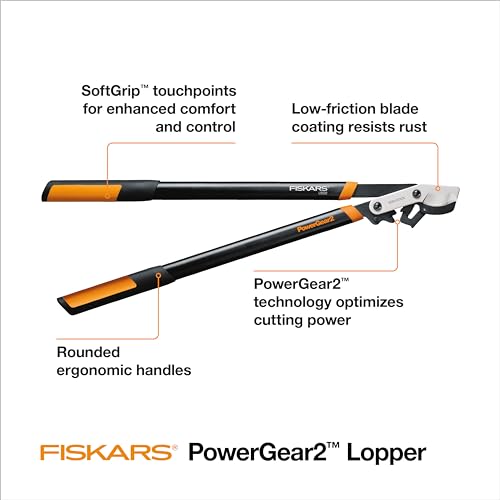
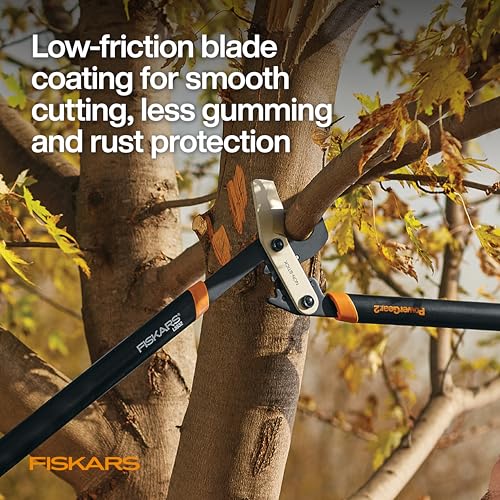
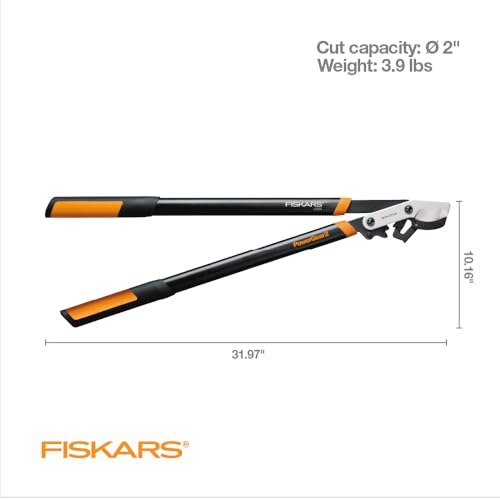
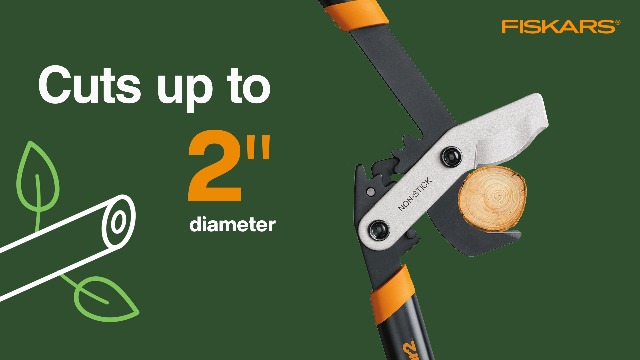
Loppers handle the undercut and drop cut cleanly on branches up to about two inches thick, and the longer handles give enough leverage that you’re not fighting the cut. Anything thicker, or out of comfortable reach, calls for a pruning saw instead, since loppers start to crush rather than cut through denser wood. For limbs high in the canopy, a pole saw keeps you off a ladder for the undercut and drop cut, though the final collar cut is worth doing from solid footing with a hand saw for better control over the angle.
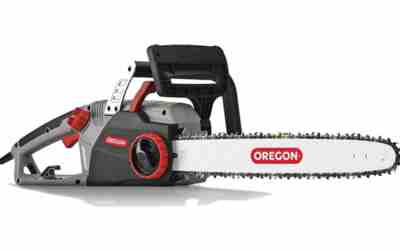
See our picks: best loppers and best pole chain saws.

Fiskars PowerGear2 32-Inch Heavy Duty Bypass Loppers with 2-Inch Cutting Capacity




Common Mistakes That Cause Tearing
Skipping the undercut is the single biggest cause of torn bark – without it, there’s nothing to stop the bark from splitting downward once the branch starts to give. Cutting flush against the trunk is the second, since it removes the collar the tree needs to heal. A third, quieter mistake is leaving a long stub past the collar “to be safe” – it feels cautious but the stub just dies back and becomes an entry point for rot, undoing the whole point of a clean cut.
What a Good Cut Looks Like Afterward
A properly placed collar cut leaves a smooth, slightly oval wound sitting just outside the ring of collar tissue, not a flat circle flush with the trunk and not a stub sticking out past it. Within the first growing season you should see a raised ridge of new bark starting to form around the edge of the wound – that’s the tree closing the cut from the outside in. If a cut instead shows peeling bark trailing down the trunk, or a dead brown stub that never calluses over, it’s worth checking nearby cuts for the same mistake before it becomes a pattern across the whole tree.
Frequently Asked Questions
What is the three-cut pruning method?
An undercut partway through the branch a foot or so from the trunk, a second cut straight down further out to drop the branch’s weight, then a final light cut just outside the branch collar – done in that order so nothing heavy is hanging on the blade when the last cut is made.
Why does a flush cut tear the bark?
A heavy limb snaps under its own weight before a single cut finishes, and the falling weight peels bark down the trunk. Removing the weight first with an undercut and a drop cut means the final cut is light and controlled instead.
When is the best time to prune trees?
Late winter or early spring, while the tree is still dormant, is best for most routine pruning – cuts close faster once growth resumes. Dead, damaged, or diseased limbs should come off immediately regardless of season.