
You searched “how to winterize a lawn mower” and got ten paragraphs about fuel stabilizer, oil changes, and pulling the spark plug — for a machine that has none of those parts. If you own a battery-powered mower, winterizing it takes about 20 minutes, and almost all of that time is spent on the battery, not the mower itself. The one mistake that actually kills a lithium pack over winter isn’t skipping a step in this list — it’s storing it at the wrong charge level in a freezing shed, then plugging a cold battery straight into the charger. Get those two things right and everything else here is just good housekeeping.
Quick Answer — The 6-Step Cordless Winterizing Checklist
If you’re in a hurry, here’s the whole job. The sections below explain the “why” behind each step, including the one almost every gas-mower guide gets wrong for a lithium pack.
Everything a cordless mower owner needs to do at the end of the mowing season, from the last cut to spring startup.
When to Winterize (Timing, Not a Calendar Date)
Cool-season lawns (fescue, Kentucky bluegrass, rye)
Growth effectively stops once soil temperature falls below about 50°F, and that’s your real last-mow trigger — not a date circled on the calendar. Depending on your zone, that typically lands sometime in late October or November.
Warm-season lawns (Bermuda, zoysia, St. Augustine)
Dormancy begins as soil temperature drops below roughly 65°F, so the last cut comes earlier in the fall — the lawn will visibly brown off as it goes dormant, and that’s your cue.
The real trigger
The honest signal is the first hard frost combined with “the grass hasn’t grown back in a week.” If you’re in a mild zone (8–10) and still mowing occasionally through winter, winterize your spare packs and keep just one battery in rotation.
What You Can Skip (Because You Don’t Own a Gas Mower)
Most winterizing guides are written for gas engines, and it’s worth being explicit about which of those steps simply don’t apply to you — and which cordless-specific step replaces each one.
| The gas-mower ritual | The cordless reality |
|---|---|
| Add fuel stabilizer | Not applicable — no fuel system |
| Drain the gas tank | Not applicable — no gas tank |
| Change the oil | Not applicable — brushless motors are sealed, no crankcase |
| Pull and gap the spark plug | Not applicable — no spark plug |
| Clean the carburetor | Not applicable — no carburetor |
| Service the air filter | Not applicable, or a rinsable foam filter on a few models |
| Disconnect the spark plug wire | Remove the safety/start key and the battery |
| Wire-brush the battery terminals | Do not — dry cloth only, see below |
That said, “no fuel system” doesn’t mean “no maintenance.” A cordless mower still needs its blade sharpened, its deck cleaned, and its wheels and height adjusters kept moving freely — the sections below cover all three.
Step 1 — Make the Last Cut Count (and Mulch the Leaves In)
Final mowing height
For cool-season grass, step your cutting height down gradually over the last two or three mows to around 2–2.5 inches. Lower reduces matting and snow-mould risk over winter, but don’t scalp it — cutting below about 2 inches stresses the crown and invites winter injury. As always, never remove more than a third of the blade height in a single pass.
Mulch leaves instead of bagging them
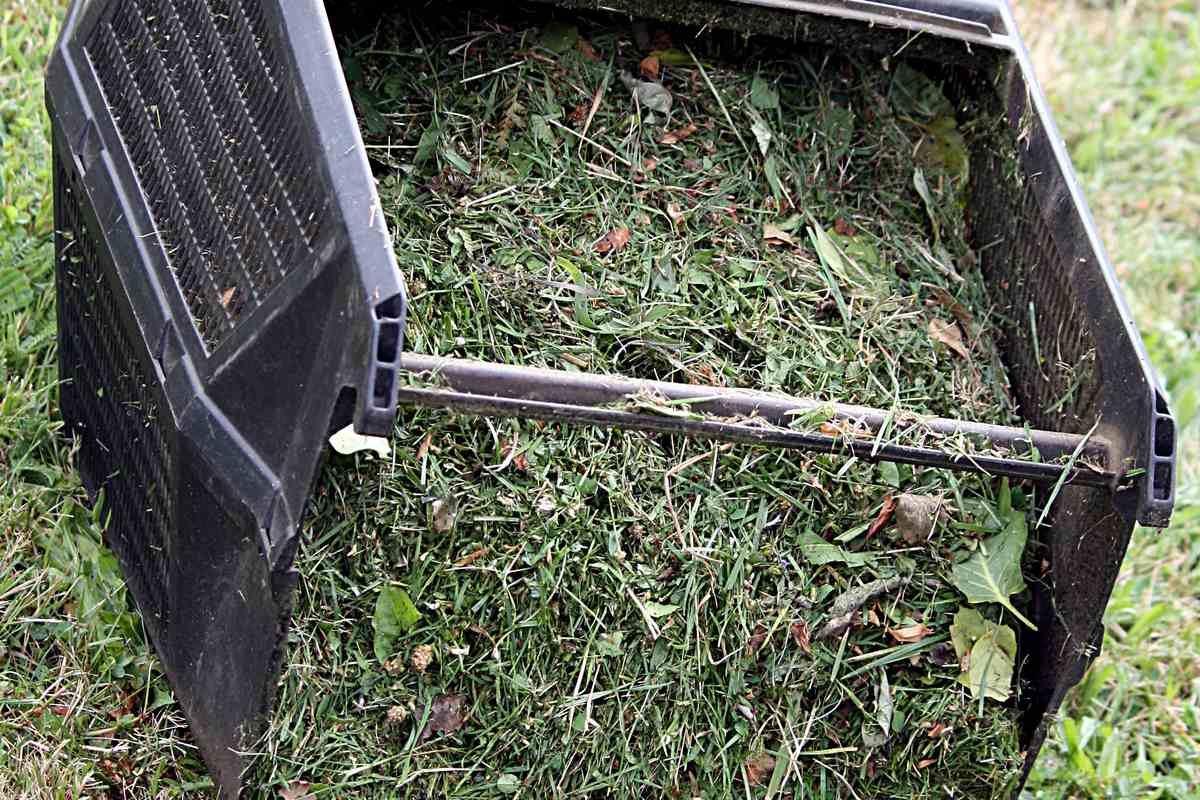
Mowing fallen leaves back into the turf returns nutrients and organic matter to the soil — Michigan State University Extension’s turf research backs this up. The practical rule: make repeated passes until the leaf pieces are dime-sized and you can still see grass blades through the mulch. Bag instead when the leaf layer is deep enough to smother the lawn, or when the leaves are visibly diseased.

When you need more than a mower
For deep leaf piles, a dedicated leaf mulcher reduces volume dramatically before it goes into the compost pile. The Worx WG430 electric leaf mulcher is worth a look here — a 13-amp, 8,500-rpm bladeless Flex-a-Line mulcher with an 11:1 mulch ratio, a 13-inch cut diameter, and about 53 gallons per minute of throughput. It weighs around 20 pounds and folds flat for off-season storage, though the collection bag isn’t included. If you’re shopping for the mower itself rather than a dedicated mulcher, our roundup of the best mulch lawn mowers covers the current top picks.
Step 2 — Pull the Safety Key and the Battery First
This step is non-negotiable, and it’s the direct cordless equivalent of disconnecting a gas mower’s spark plug wire: it’s what prevents the blade from turning while your hands are anywhere near the deck. Some models have a separate removable safety key in addition to a keyed battery bay — remove both, not just one. Note that many cordless mowers hold a small residual charge even after the pack is out, so treat the deck as live until you’ve confirmed otherwise. Put the removed battery somewhere it won’t get knocked onto a concrete floor.
Step 3 — Clean the Deck Without Wrecking the Electronics
Why you don’t pressure-wash a cordless mower
A gas deck tolerates a hose far better than a sealed motor housing, controller board, and wiring harness do. Water driven into the battery bay or controller is a genuine failure mode, and it’s usually not something the warranty covers.
The dry-scrape method
Use a plastic putty knife or a wooden paint stirrer to lift caked clippings from the underside of the deck, follow with a stiff brush, then wipe with a damp — not soaking — cloth. Let it fully air-dry before storage. If your model has a dedicated deck-wash port, use it exactly as the manual describes, then run the mower briefly afterward to sling the water off.
Which way to tip it
Cordless mowers have no oil or fuel to spill, but tipping the wrong way can still stress the handle joint or let debris into the battery bay. Check your manual — with the pack removed, most tip safely with the handle side down or resting on the nose. A light coat of silicone spray on a clean, dry deck underside will slow next season’s clipping buildup.
Step 4 — Sharpen or Replace the Blade Now, Not in April
Plan to sharpen or swap the blade once a season, and fall is genuinely the better time to do it: you’re already under the deck for cleaning, and you won’t be waiting behind everyone else at the sharpening shop next spring. Mark the down-facing side before removal so it goes back on correctly. Sharpen to the factory bevel — roughly 30 degrees — and resist the urge to put a razor edge on it; an overly sharp edge just rolls over faster in use. After sharpening, balance the blade on a nail or a blade balancer, since an unbalanced blade transmits vibration straight into the motor bearings. Replace it outright if you find nicks deeper than about half an inch, any cracks, or a visibly thinned trailing edge, and torque the bolt to your manual’s spec rather than “as tight as you can get it.” One more thing worth knowing: mulching blades and high-lift blades aren’t interchangeable, so replace like-for-like. If you’re due for a spare blade or considering an upgrade, our best battery-operated lawn mowers roundup is a good place to compare current models and their blade systems.
Step 5 — Store the Batteries Right (The Part Everyone Gets Wrong)
This is the section the rest of the internet gets wrong for cordless owners, because most of what ranks for “lawn mower battery storage” was written for lead-acid batteries in riding mowers — a completely different chemistry with completely different rules.
The right state of charge
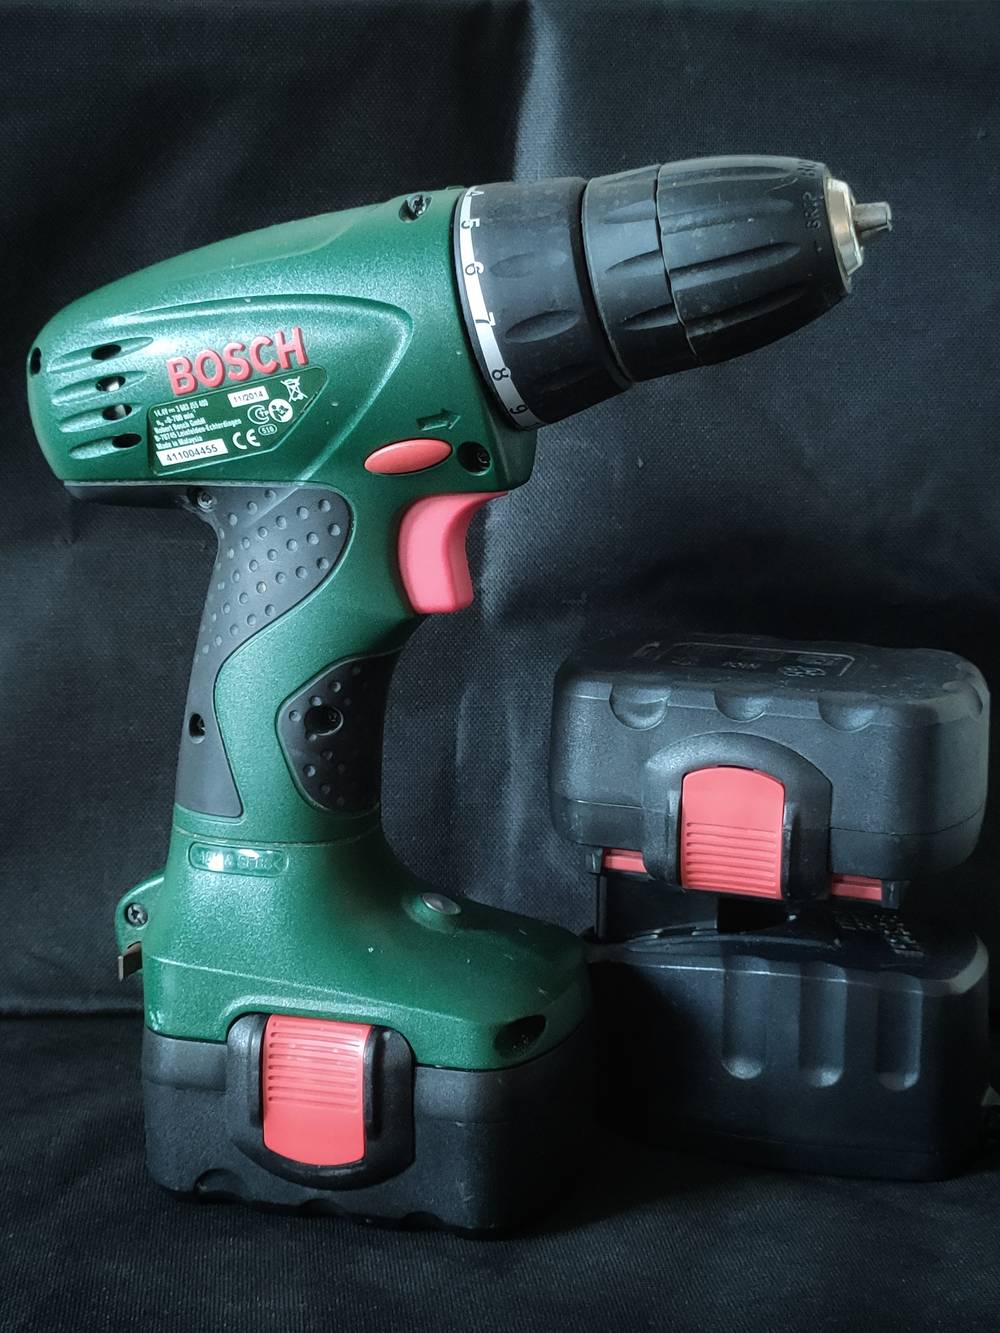
Store lithium tool packs at roughly 40–60% charge — not full, and not empty. Worx’s own documentation specifies charging to about 50% for long-term storage. The reason is straightforward: a cell held at full charge ages faster because of the voltage stress on the electrolyte, while a cell allowed to drain to zero can enter deep discharge and refuse to wake back up. One important exception: robot-mower packs follow a different number entirely — see the Landroid section below — so always defer to your specific machine’s manual over a generic rule.
The right temperature
Aim for 40–80°F, dry, and out of direct sun. The practical instruction: leave the mower itself in the garage or shed, but bring the battery packs inside the house. An unheated shed in a zone 4–6 winter routinely swings well below that safe range.
Never charge a cold battery
This is the single highest-value fact in this entire guide. Charging a lithium-ion cell below 32°F/0°C causes lithium plating — metallic lithium deposits on the anode instead of properly intercalating into it. That damage is permanent, it permanently reduces the pack’s capacity, and in the worst case the plating can pierce the internal separator (Battery University’s BU-410 reference covers the mechanism in detail). The practical rule is simple: let a cold pack sit at room temperature for a few hours before it ever touches the charger. Discharging a cold battery — actually using it — is fine. Charging one straight from the cold is not.
Don’t use a trickle charger or “battery maintainer”
Those are lead-acid devices, and this advice keeps bleeding into lawn-mower articles from riding-mower content written for a different battery type entirely. A lithium tool pack has its own built-in battery management system and needs the manufacturer’s charger, used deliberately for a defined session — not left connected for months at a time.
Check in every two months
Worx’s guidance is to recharge stored packs about every two months over the winter specifically to prevent deep discharge. A healthy lithium pack only self-discharges a few percent a month, so a reminder every couple of months is enough for most people — worth setting on your phone now, while you’re thinking about it.
A swollen or damaged pack does not go into storage — or the bin
A puffed casing, a cracked shell, a pack that got soaked, or one that simply won’t take a charge anymore should be retired, not stored. Never keep a damaged pack indoors or anywhere near living space. In the US, Call2Recycle collection points at major hardware and office-supply retailers take these for free — worth knowing, since almost no competing article covers what to actually do with a dead pack.
Step 6 — Where the Mower Itself Goes
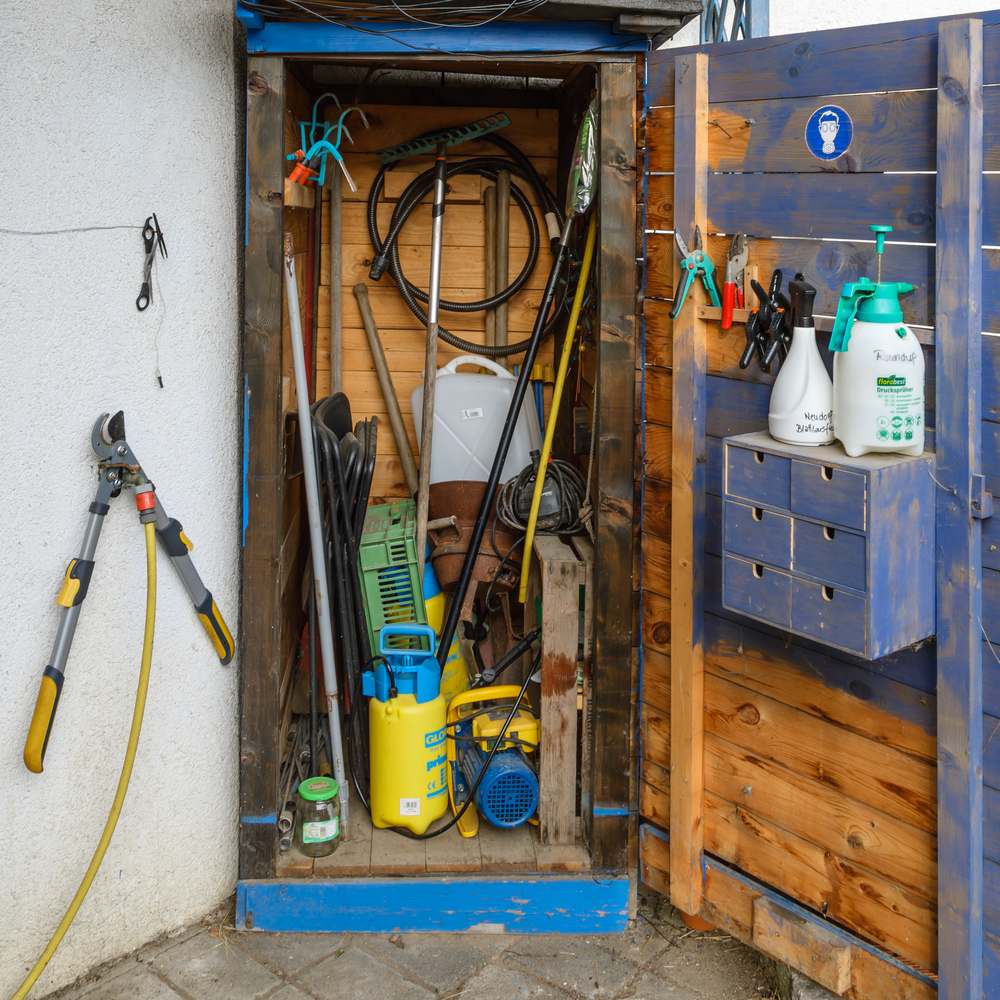
Dry and sheltered beats heated. Keep the mower off a damp concrete floor if you can — a pallet or a scrap of plywood underneath is enough — and fold or collapse the handle per the manual to save footprint. Some cordless models are rated for vertical storage, a real advantage over gas mowers that’s worth taking advantage of if yours supports it. Cover it loosely with a breathable cover rather than sealed plastic, which traps condensation. Rodent-proofing matters more than people expect: mice nest in mower decks and chew through wiring harnesses over the winter, so remove the grass bag and store it separately, and don’t park the mower next to birdseed or pet food. Leave the battery bay empty and its door closed.
Robot Mower Owners — A Different Protocol
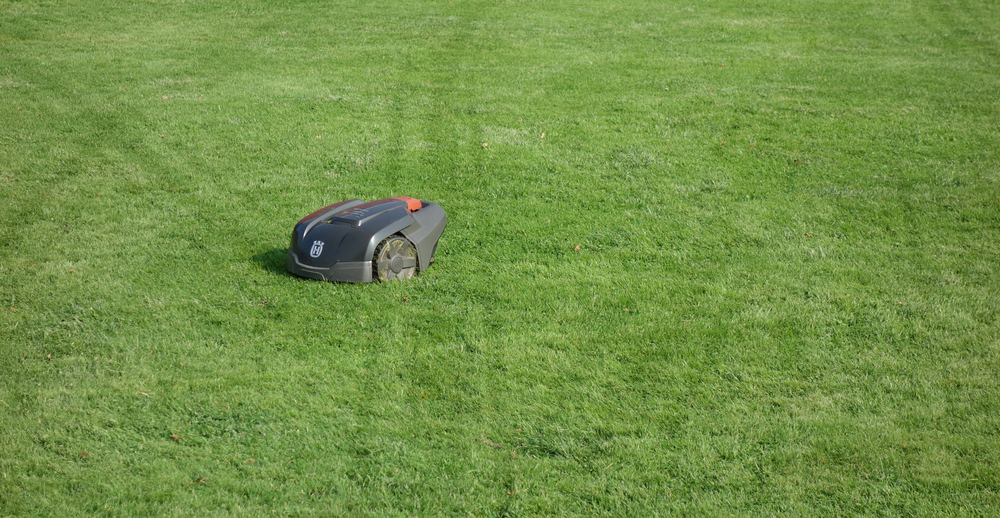
This deserves its own section, because “Worx Landroid winter storage” is barely answered anywhere outside Worx’s own support wiki. Start by cleaning the chassis, wheels, and blade disc thoroughly before storage. Remove the battery from the robot — don’t leave it docked all winter. Worx’s Landroid guidance calls for storing that pack at roughly 70–80% charge, noticeably higher than the ~50% figure for handheld tool packs, so it’s worth saying explicitly: these numbers genuinely differ by product line, and it’s confusing if you assume they’re the same. Recharge it about every two months, same as your other packs. Store the robot and its battery somewhere dry and frost-free. The boundary/perimeter wire itself stays in the ground over winter — you don’t need to dig it up. The charging base is generally rated to stay outdoors, but bring it in if your winters get severe. Plan to fit a fresh blade set at spring startup rather than reusing a worn one. If a robot mower is on your radar for next season, our best robotic lawn mowers roundup covers the current Landroid lineup and its competitors, including replacement blade sets and storage bag accessories.
Your Batteries Don’t Have to Hibernate — Winter Jobs for the Same Packs
If you’re on a shared battery platform, those packs are arguably more useful in January than they are in July. A 40V (2×20V PowerShare) brushless snow blower runs on the exact same batteries that power your mower — no separate purchase or separate battery ecosystem needed. Cordless leaf blowers handle the last leaf pass of the season and clear light snow off steps. Chainsaws and pole saws on the same platform make quick work of storm-damage cleanup, and hedge trimmers cover dormant-season pruning. The rule from the storage section applies here too, and it matters more in winter than any other time of year: it’s fine to run a pack that’s cold, but bring it back indoors and let it reach room temperature before it ever touches the charger. You’ll also notice runtime per charge drop noticeably in cold weather — that’s normal, it recovers once the pack warms up, and it isn’t a sign of a dying battery. If storm-related power outages are a concern where you live, our battery-operated chain saws roundup is worth a look for cleanup-ready options that share the same platform. For keeping the rest of the house powered during that same outage, WikiGenerators’ portable generator roundup is a reasonable place to start.
Spring Wake-Up — The 5-Minute Reverse Checklist
- Let packs reach room temperature before doing anything else with them.
- Inspect for swelling, corrosion, or damage before you charge — don’t charge a pack that fails this check.
- Charge fully.
- Check the blade’s edge and bolt torque.
- Check that wheels and height adjusters move freely.
- Check under the deck and inside the grass bag for any rodent nesting.
- Test-run in an open area before your first real cut.
If a pack lost noticeable runtime over a single winter, it’s usually a storage-condition problem — wrong charge level, too much cold, or a bad charging habit — rather than a defective battery.
Frequently Asked Questions
Should I store my lawn mower battery fully charged?
No. Store lithium tool packs at roughly 40–60% charge. Storing at 100% accelerates calendar ageing and shortens the pack’s usable life, even if it never gets used during that time.
Can I leave the battery on the charger all winter?
It’s not recommended. Charge to the storage level (about 40–60% for handheld packs, 70–80% for Landroid robot-mower packs), unplug it, and check in roughly every two months rather than leaving it connected continuously.
Can I leave a battery mower in an unheated garage over winter?
The mower itself, yes. The battery, no — bring the packs inside where temperatures stay between about 40–80°F. An unheated garage or shed can easily swing below freezing overnight.
Do I need fuel stabilizer or an oil change for an electric mower?
No. Cordless and corded electric mowers have no fuel system and no crankcase, so fuel stabilizer, oil changes, and spark plug service simply don’t apply.
Is it safe to charge a battery that’s been sitting in the cold?
No — let it warm to room temperature first. Charging a lithium-ion pack below 32°F/0°C causes permanent lithium plating and irreversible capacity loss. Using (discharging) a cold pack is fine; charging one cold is not.
How long should a cordless mower battery last?
Typically several seasons, or several hundred charge cycles, under normal use. Storage conditions — charge level, temperature, and avoiding cold charging — are the biggest variable an owner actually controls.
Twenty minutes of this checklist in November is a lot cheaper than a dead battery pack in April. Do the storage steps right once, and your mower — and the rest of your battery platform — will be ready the moment the grass starts growing again. If you’re shopping for this season’s mower or planning a battery-platform upgrade, browse our electric mowers for small yards and corded electric mower roundups alongside the battery-powered and robotic picks linked above.