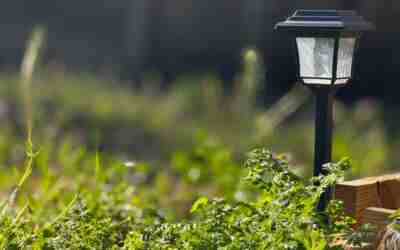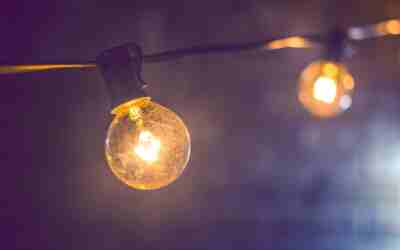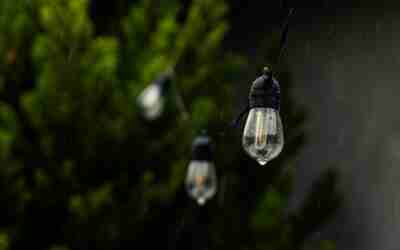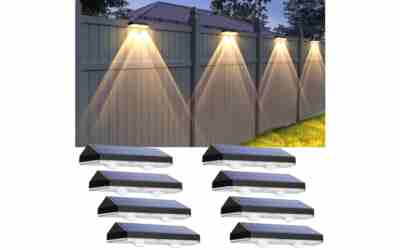

To pick outdoor lighting, give each zone one job first (safety, security, ambiance or accent), then match brightness, color and power source to that job. As common design guidelines, path lights need about 100–200 lumens each, floodlights 700–1,300, and warm 2,700K–3,000K bulbs suit most yards. Choose wet-rated fixtures and size any transformer before you buy.
Start by giving each zone one job
Walk your property at dusk and list each area with its main purpose. The purpose decides the fixture type, brightness and controls, so do this before you shop.
| Zone | Main job | Common fixture | Typical spot |
|---|---|---|---|
| Walkway | Safety | Path light | Low, along the edge |
| Steps | Safety | Step or riser light | In the riser or on the wall beside it |
| Front door | Safety and welcome | Wall lantern or sconce | Beside the door |
| Driveway, side yard | Security | Flood or motion light | Eave or wall, aimed down |
| Patio | Ambiance, tasks | String lights, sconces, dimmers | Overhead or on walls |
| Trees, plantings, siding | Accent | Spot, bullet or well light | Ground level, aimed at the feature |
Designers often layer three types of light: ambient (soft, general), task (grill, steps, door lock) and accent (a tree or wall you want noticed). Most yards look best with only two layers working well, so rank your zones and light safety and security areas first.
How many lumens does each zone need?
Lumens measure light output; watts only tell you how much power a lamp draws. The ranges below are common design guidelines, not code, and your yard may need more or less.
| Zone | Typical guideline |
|---|---|
| Path lights (each) | About 100–200 lumens |
| Step lights (each) | About 50–100 lumens |
| Accent and spot lights | About 50–300 lumens |
| Front door | About 400–800 lumens total |
| Security floodlights | About 700–1,300 lumens |
| Patio (dimmable) | Low for dining, higher for tasks like grilling |
Coverage matters more than raw brightness. A shielded 150-lumen path light puts light on the ground. A bare 400-lumen bulb throws glare into your eyes and makes the dark beyond it look darker.
Pick the color temperature
Color temperature is measured in Kelvin (K). For most residential yards, 2,700K–3,000K gives a warm, incandescent-like look that flatters plants, wood and brick. Some landscape designers go as low as 2,000K. Cool light at 4,000K and above can look harsh outdoors. Some people choose 4,000K for security areas because cameras may render colors more accurately, but that is a preference, not a rule.
What it costs to run
LEDs are cheap to operate. Example: a 10-watt LED fixture running 6 hours a night uses 0.06 kWh a day, or about 22 kWh a year. At an assumed $0.17 per kWh, that is roughly $3.70 a year. Check your own utility rate.
Solar, low-voltage or line-voltage: which power type fits?
| Type | Typical output | Pros | Cons |
|---|---|---|---|
| Solar | Often low; one comparison put a solar path light near 7 lumens versus about 150 for a 12V path light | No wiring, no electrical cost, easy to move | Needs about 6 hours of direct sun for a full charge; dims in shade, winter and as batteries age |
| Low-voltage (12V) with transformer | Path lights near 150 lumens; bullet lights up to about 1,500 | Safer to work with, brighter and steadier than solar, flexible layouts | Needs a plug-in transformer, wire runs, and attention to wattage and voltage drop |
| Line-voltage (120V) | Highest; typical floodlight range of 700–1,300 lumens | Strong, permanent, good for security and wall fixtures | Usually needs a licensed electrician, permits and GFCI protection |
Output varies a lot by model, so check each package.
Choose this if
- Solar: the spot gets full sun, the job is decorative or accent, and running wire is impractical.
- Low-voltage: you want reliable paths, steps, gardens and tree lighting you can install yourself.
- Line-voltage: you need bright security lighting, wall-mounted fixtures at doors and garages, or lights that must work every night.
Decision rule: use low-voltage or line-voltage for anything safety or security related, and solar only where a dim night is acceptable.
Safety: outdoor 120V circuits and outlets need GFCI protection, and hardwiring should follow the NEC and local code. Shut off the breaker before touching any wiring, and hire a licensed electrician if you are not experienced.
How to size a low-voltage transformer (worked example)
An undersized transformer is a common failure. It overheats, trips or leaves the last lights dim. Add up the wattage of every fixture on the run, then leave headroom. A common rule of thumb is to load a transformer to no more than about 80% of its rating, but follow the manufacturer’s instructions.
- 8 path lights at 3 watts each = 24 watts.
- 4 spotlights at 5 watts each = 20 watts.
- Total load = 44 watts.
- Divide by 0.8 to leave headroom: 44 ÷ 0.8 = 55 watts.
- Choose the next size up, such as a 60-watt unit, or a 100-watt unit if you plan to add lights later.
Use the fixture’s labeled wattage, not the equivalent incandescent number. Some transformers also list a minimum load, so check that too.
Watch voltage drop on long runs
Over long wire runs, voltage falls and the lights at the far end look dimmer. Thicker wire (a lower gauge number, such as 12 or 14 instead of 16) helps, as does splitting a layout into shorter runs or feeding the middle. Manufacturers publish wire length limits for each gauge, so follow those.
For choices, see our roundup of the best landscape lighting transformers, or read our DEWENWILS outdoor low voltage transformer review for a single model’s specs.
Before digging a cable trench, call 811 to have buried utilities marked. Bury cable at the depth the manufacturer or local code specifies.
What to check on the label before you buy
- Location rating: a wet-location listing is for fixtures exposed to rain and sprinklers. Damp-location is only for covered spots like a porch ceiling.
- IP rating: look for IP65 or higher on fixtures exposed to rain. Well lights that sit in standing water need a higher immersion rating, so check the package.
- Material: aluminum is light, affordable and rust-resistant. Stainless steel resists corrosion better, which matters near pools or the coast. Brass looks classic but needs more upkeep.
- Shielding: hoods, louvers and downward-facing optics reduce glare and light spilling onto neighbors.
- Lumens and Kelvin: confirm both numbers. Packages that only list watts or a vague equivalent make comparison hard.
- Bulb type: integrated LEDs last long but cannot be swapped, so check the warranty. Replaceable bulbs are easier to fix.
- Controls: timers, dusk-to-dawn sensors, dimmers and motion sensors save energy and cut light pollution. See our guide to the best motion sensor outdoor lights for security zones.
- Warranty: compare length and what it covers, such as finish, LED module or water damage.
Where to place lights and how to avoid glare
These are common design guidelines, so adjust them to your layout and the fixture’s beam.
- Path lights: a spacing of roughly 6–8 feet is common, staggered on alternate sides. Pools of light should just overlap, not form a runway.
- Steps: light every tread or every few risers so each edge is visible.
- Floodlights: mount them high and aim downward. A light visible from the street is usually aimed too high.
- Accent lights: set them a few feet from the feature and aim up at an angle. Hide the fixture behind a shrub.
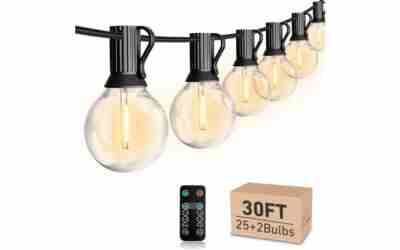
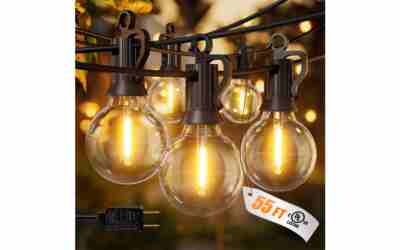
- Patio: keep bulbs out of direct sight lines. String lights hung overhead create ambient light, and dimmers let you lower the level for evenings. See our addlon G40 outdoor string lights review for one example.
A neighbor-friendly approach
For dark-sky friendly lighting, choose shielded, downward-facing fixtures, warm light at about 3,000K or lower, and timers or motion sensors so lights are not on all night.
Common mistakes and a pre-buy checklist
Mistakes to avoid
- Over-lighting: too many bright fixtures flatten the yard and waste money. Start with fewer lights and add.
- Glare: bare bulbs at eye level hurt visibility. Choose shielded fixtures.
- Cool white everywhere: 5,000K bulbs on a patio feel like a parking lot.
- Undersized transformer: add up the fixture watts first, as shown above.
- Indoor-rated or damp-only fixtures: they fail quickly in rain.
- Solar for safety zones: low output and inconsistent charging leave steps dark.
Checklist
- Sketch your yard and mark each zone’s job.
- Pick a power type for each zone using the decision rule.
- Set a target lumen range and a 2,700K–3,000K color for most areas.
- Check for an outdoor GFCI outlet and plan wire runs.
- Total the fixture watts and size the transformer with headroom.
- Confirm wet-location rating, IP65 or higher, materials and warranty.
- Add timers, sensors or dimmers.
- Buy one fixture, test it at night, then buy the rest.
Our Top Picks
Ready to shop? These are the top-rated options from our hands-on roundup, Best Low Voltage Landscape Lighting of 2026.

SUNVIE 12-Pack 300W Low Voltage LED Landscape Lights
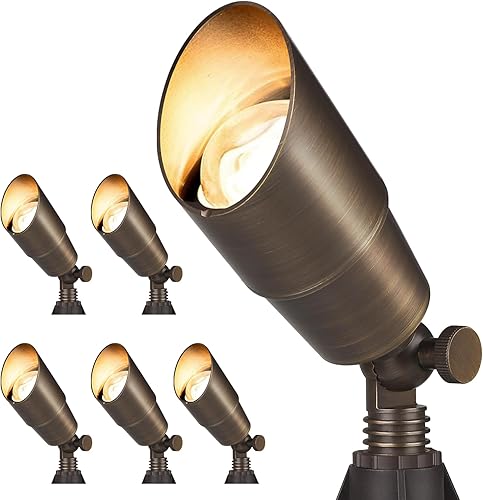
Gardencoin Solid Brass Outdoor Landscape Spotlights

SUNVIE 6W Anti-Glare LED Low Voltage Landscape Lighting 4-Pack
As an Amazon Associate we earn from qualifying purchases. Product prices and availability are accurate as of the date/time indicated.
Frequently Asked Questions
How far apart should path lights be?
A common guideline is about 6–8 feet apart, staggered on alternating sides of the path. The right spacing depends on each fixture’s beam and brightness, so test with one or two lights at night before you commit.
Do I need an electrician to install outdoor lighting?
Not for plug-in low-voltage or solar lights, which most homeowners can install. Hardwired 120V fixtures and new outdoor circuits usually call for a licensed electrician. NEC requirements and local permit rules vary, so check with your building department.
What IP rating do outdoor lights need?
IP65 or higher is a good target for fixtures exposed to rain, since it means dust-tight and protected against water jets. Also look for a wet-location listing. Fixtures that can sit in standing water need a higher rating.
Can I add more lights to an existing transformer?
Often yes, if the voltage matches and the total wattage stays within the transformer’s rating, ideally with about 20% headroom. Check any minimum load requirement and the wire length limits in the manufacturer’s instructions.
{“@context”: “https://schema.org”, “@type”: “FAQPage”, “mainEntity”: [{“@type”: “Question”, “name”: “How far apart should path lights be?”, “acceptedAnswer”: {“@type”: “Answer”, “text”: “A common guideline is about 6–8 feet apart, staggered on alternating sides of the path. The right spacing depends on each fixture’s beam and brightness, so test with one or two lights at night before you commit.”}}, {“@type”: “Question”, “name”: “Do I need an electrician to install outdoor lighting?”, “acceptedAnswer”: {“@type”: “Answer”, “text”: “Not for plug-in low-voltage or solar lights, which most homeowners can install. Hardwired 120V fixtures and new outdoor circuits usually call for a licensed electrician. NEC requirements and local permit rules vary, so check with your building department.”}}, {“@type”: “Question”, “name”: “What IP rating do outdoor lights need?”, “acceptedAnswer”: {“@type”: “Answer”, “text”: “IP65 or higher is a good target for fixtures exposed to rain, since it means dust-tight and protected against water jets. Also look for a wet-location listing. Fixtures that can sit in standing water need a higher rating.”}}, {“@type”: “Question”, “name”: “Can I add more lights to an existing transformer?”, “acceptedAnswer”: {“@type”: “Answer”, “text”: “Often yes, if the voltage matches and the total wattage stays within the transformer’s rating, ideally with about 20% headroom. Check any minimum load requirement and the wire length limits in the manufacturer’s instructions.”}}]}