
Your chainsaw is bogging down, pulling to one side mid-cut, or throwing fine powder instead of thick, curled chips — and the fix costs nothing but the file you probably already own. A chain doesn’t need much dulling before cutting stops feeling effortless: one afternoon in dirty bark, a rock buried in the wood, or even just normal use will do it. The good news is that hand-filing is genuinely a fifteen-minute job, no bench grinder required, and it doesn’t demand a steady surgeon’s hand. What it does demand is matching the file to your chain’s actual pitch and keeping every cutter at the same angle and length. Get those two things right and the rest is just repetition.
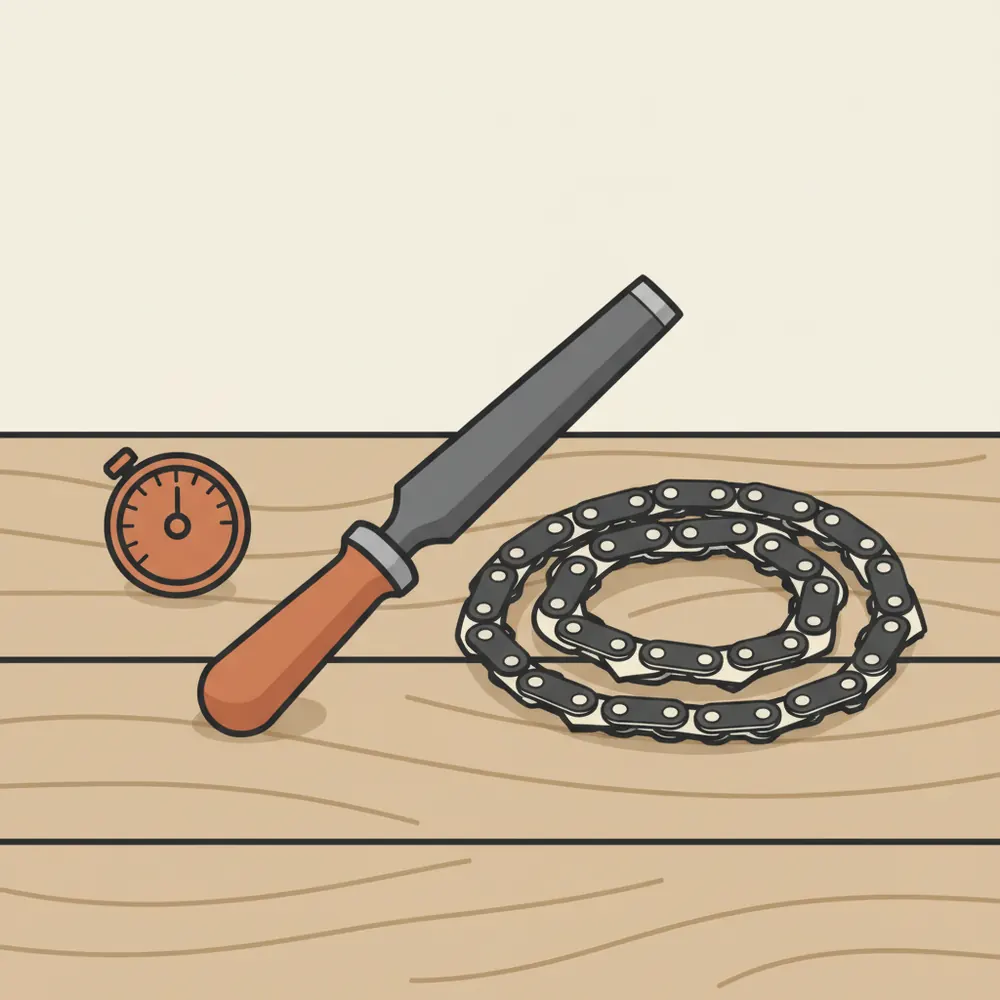
Quick Answer — The 6-Step Sharpening Checklist
If you already know your way around a file, here’s the whole job. The sections below explain the “why” behind each step, including the two most common reasons a freshly sharpened chain still cuts crooked.
Sharpening a chainsaw chain by hand, from identifying your chain to knowing when it’s no longer worth saving.
How to Tell Your Chain Needs Sharpening (Before You Pull the File)
A sharp chain feeds itself into the wood under its own weight. If you’re pushing down to keep the saw cutting, that’s the first sign. The rest confirm it:
- The chain produces fine, powdery dust instead of thick, curled chips.
- The saw pulls or curves to one side during a straight cut — almost always uneven filing on one side of the chain, not a bar problem.
- You have to force-feed the saw into the wood instead of letting the chain pull itself.
- The chain smokes or the cut smells burnt even though the bar is oiling properly.
Any one of these on its own can also point to a chain that’s simply too loose or a bar with worn rails — worth ruling out before you assume every symptom is a filing problem. But dust instead of chips is almost always the cutting edges themselves.
Step 1 — Find Your Chain’s Pitch and Gauge
“Pitch” is the distance between chain links, and it’s the number that decides which round file diameter you need — get this wrong and no amount of technique saves the result. You’ll find it stamped on the original chain packaging, in your saw’s manual, or on the drive-link depth gauge itself on some brands. If none of that is handy, the numbers are usually stamped into the metal of the guide bar near where it meets the saw body, alongside the bar’s gauge (the thickness of the drive links, which matters for bar and sprocket fit but not for filing).
| Chain Pitch | Typical Use | Round File Diameter |
|---|---|---|
| 1/4″ | Mini and top-handle saws, light pruning | 5/32″ (4.0 mm) |
| 3/8″ Low Profile (3/8″ LP) | Most homeowner electric and battery saws | 5/32″ (4.0 mm) |
| .325″ | Mid-size homeowner gas saws | 3/16″ (4.8 mm) |
| 3/8″ (standard) | Full-size gas saws — the most common pitch | 7/32″ (5.5 mm) |
| .404″ | Professional and felling saws | 7/32″–1/4″ (5.5–6.4 mm), check the manufacturer |
Buy the closest size and check the fit against an unworn cutter before you start on the whole chain: the file should sit with about a fifth of its diameter above the top plate of the cutter. If it’s sitting nearly flush or barely touching, you’ve got the wrong diameter.
Step 2 — Clamp the Bar and Set Your Angle
Secure the bar so it can’t move — either a dedicated on-saw filing clamp or the bar held in a bench vise with the chain’s brake engaged. A chain that shifts mid-stroke is the single most common reason a “sharpened” chain still cuts crooked, because it changes your angle without you noticing.
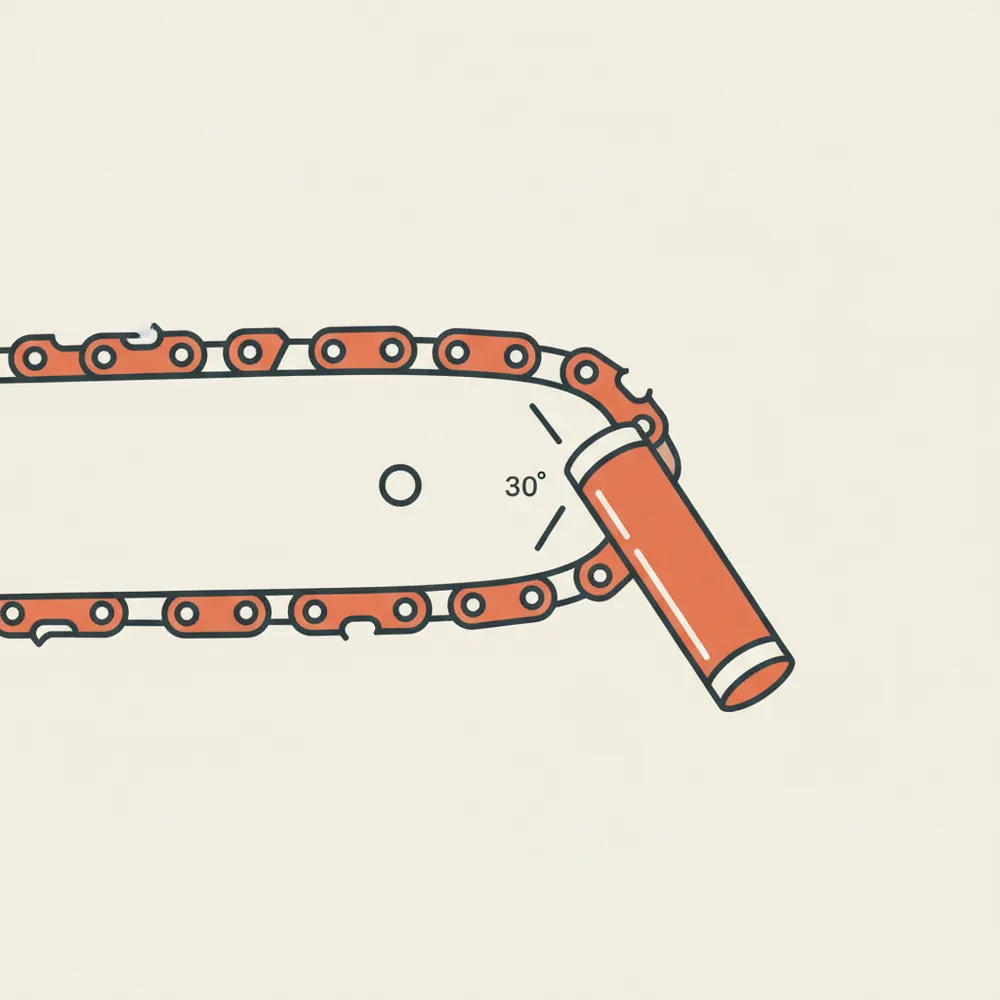
Thirty degrees off the bar, measured on the top plate, is the standard general-purpose angle used on most full-chisel and semi-chisel chains — the kind on the overwhelming majority of homeowner saws. It’s a good default if you have no other information. But it’s not universal: some full-chisel “square-ground” chains and most ripping chains use a shallower angle, sometimes as low as 0°–10°, because a steeper angle that’s great for cross-cutting is actually worse for ripping with the grain. Check the angle printed on your chain’s original packaging or stamped into a cheap file guide before assuming 30° — it takes ten seconds and prevents filing an entire chain at the wrong angle.
Step 3 — The Filing Stroke (Consistency Beats Pressure)
The stroke itself is simpler than most people expect:
- Push the file forward and slightly down, following the angle guide — this is the only stroke that cuts.
- Lift the file completely off the metal on the return stroke. Dragging it back dulls the file and rounds the edge you just sharpened.
- Use two to four strokes per cutter as a starting point, and count them. The exact number matters less than using the same number on every tooth.
- File every other tooth first, working down one side of the bar, then flip the saw or reposition and file the remaining teeth from the other side.
- Stop the moment the cutting edge catches light evenly across its whole width with no dull, rounded-over glint anywhere on it.
The reason stroke count matters more than most people think: filing one side of the chain more than the other is the single biggest cause of a chain that pulls to one side, because the cutters on the over-filed side end up shorter and more aggressive than the ones on the other side. If you lose count, it’s better to under-file both sides evenly and do a second light pass than to guess and end up lopsided.
Step 4 — Depth Gauges (Rakers): The Step Most People Skip
The small metal tab in front of every cutter is the depth gauge, or raker — it controls how deep the cutter is allowed to bite into the wood on each pass. Every time you file the cutter back, that cutter gets shorter, but the raker stays the same height. Left unchecked, the raker eventually sits too tall relative to the cutter, the bite gets shallower and shallower, and the saw starts producing fine dust again even with genuinely sharp teeth — the classic symptom people mistake for “the file isn’t working.”
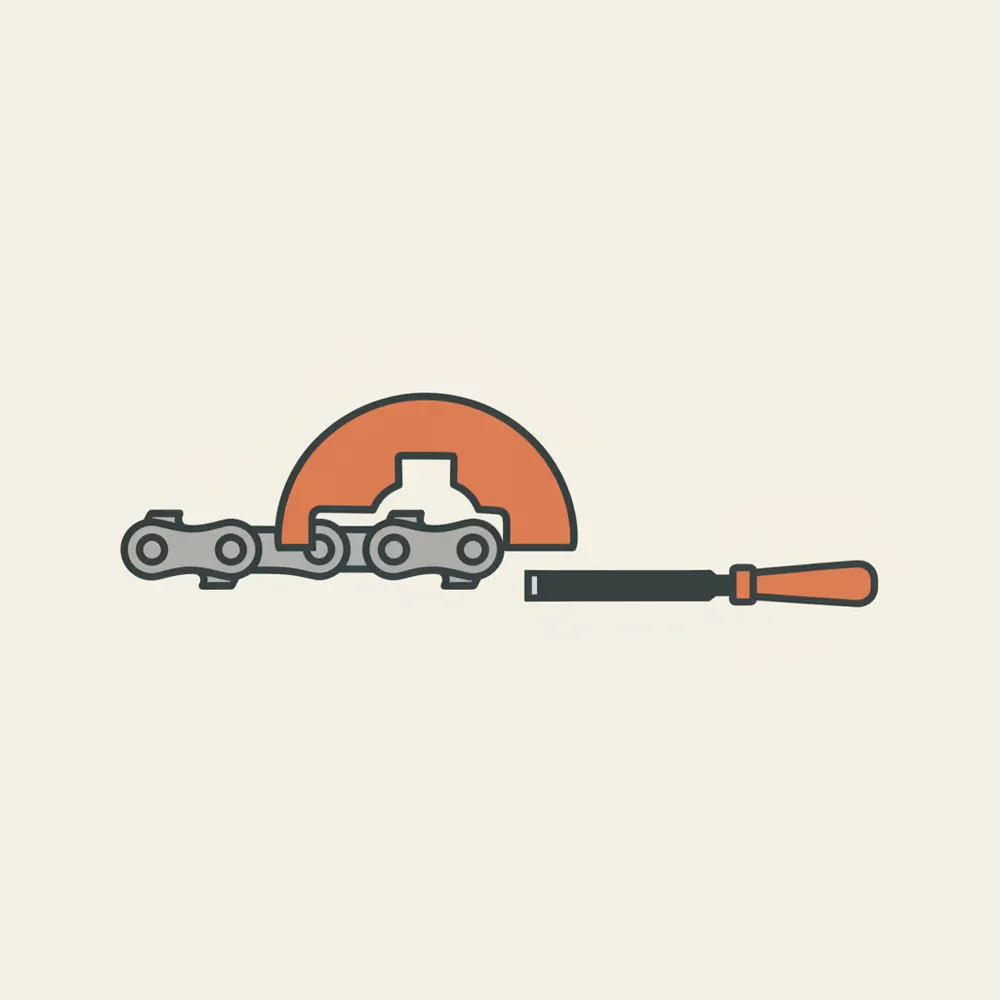
Check rakers every third to fifth sharpening, not every time — filing them too often removes material you can’t put back and shortens the chain’s life. Lay a depth gauge tool matched to your chain type flat across three or four links; any raker that pokes up through the tool’s slot gets filed down level with a flat file, then the front corner is rounded off slightly so it doesn’t dig in and grab. Most chains want the raker roughly 0.025 inches (about 0.6 mm) below the cutter’s top plate, but this varies by chain type — the gauge tool itself is usually stamped with the correct setting, so use the number on the tool over a generic figure whenever the two disagree.
Test Cut: What Good Chips Look Like
Make one test cut in scrap wood before putting the saw back to work. Long, curled, uniform chips on both sides of the cut mean you got the angle and stroke count right. If you’re still getting fine dust or the saw still pulls to one side, don’t add pressure or extra strokes blindly — go back to Step 2 and re-check the angle on the side that’s cutting worse, since an uneven chain almost always traces back to one side being filed at a different angle or count than the other.
How Many Times Can You Sharpen a Chain Before Replacing It?
Most chains tolerate somewhere around five to ten hand sharpenings before they’re done, though light touch-ups after every full tank of fuel add up faster than occasional heavier passes after hitting dirt or a nail. A chain is finished, not just dull, when any of these show up:
- A cutter is visibly shorter than the others and has reached the wear-line indicator stamped on the cutter itself (most major brands mark this).
- You see a crack in a side plate or a tie strap, anywhere on the chain — this is a safety issue, not a cosmetic one.
- The chain has stretched past the bar’s remaining tensioning adjustment, even after removing a link.
- A cutter has been filed down so many times its top plate is close to disappearing entirely.
None of those are fixed by more filing, and a cracked chain in particular is a real risk of chain break during a cut — replace it rather than trying to get one more session out of it.
Shopping for a Replacement Chain or a New Saw
If your chain is past saving, buy the replacement by pitch, gauge, and drive-link count — all three, not just pitch — so it fits your exact bar and sprocket. And if you’re weighing whether the saw itself is worth this kind of upkeep versus replacing it outright, our picks for the best chainsaws for home use and the best battery chainsaws are a good starting point, alongside our roundup of best gas chainsaws if you’re staying with a gas model.
Frequently Asked Questions
What angle do I sharpen a chainsaw chain at?
Thirty degrees off the bar, measured on the top plate, is the standard for most full-chisel and semi-chisel chains. Some ripping and square-ground chains use a shallower angle, so check the number stamped on your chain’s packaging or a marked file guide before assuming 30 degrees.
Can I sharpen a chainsaw chain without a file guide?
Yes, but it’s far easier to file both sides at an inconsistent angle without one, which is what causes a chain to cut crooked. A basic file guide with angle lines costs very little and removes most of the guesswork.
How do I know what file size to use?
Match the round file diameter to your chain’s pitch, not the saw’s size. A 3/8-inch standard-pitch chain typically takes a 7/32-inch file; 0.325-inch pitch takes 3/16 inch; most 1/4-inch and 3/8 low-profile chains take 5/32 inch. Your chain’s original box or your saw’s manual will confirm the exact figure.
What happens if I never lower the depth gauges?
The rakers end up too tall relative to the cutters as filing shortens the cutters over time, so each cutter takes a shallower bite. The saw starts producing fine dust again and feels underpowered even though the cutting edges themselves are genuinely sharp.
How often should I sharpen my chainsaw chain?
A light touch-up after every tank of fuel is a reasonable habit for regular use, with a fuller sharpening whenever cuts start producing dust instead of chips, or immediately after hitting dirt, a rock, or a nail.
Is it worth sharpening a cheap chain, or should I just replace it?
If the chain has no cracked links, hasn’t stretched past adjustment, and no cutter has reached its wear-line indicator, sharpening is almost always cheaper and faster than replacement — a full hand sharpening takes about fifteen minutes.